| Note | ||
|---|---|---|
| ||
Customers still on 2.5 will not have access to new features or updates to features that are in the 2.6 releases. Weave 2.5 will no longer be receiving any new functionality. The functionality provided by Weave is supported by the underlying technology Weave is built upon, and provided as part of the base install of Weave. But as with all technology, these things sometimes need to be updated and as part of the release cycle of Weave it is now time for another one of these technology updates. At the moment the core Weave functionality provided by Weave 2.5 and Weave 2.6 are exactly the same, that is they both contain the same "Weave" functionality, even though the underlying technology is being updated, and both versions are in fact made up of exactly the same set of bundles/plugins. However, from now on, all new development will be based on the updated 2.6 platform. As time goes by, the functionality provided by the new platform will be used more and more and will not be available for Weave 2.5, it is for this reason that upgrading from 2.5 to 2.6 should be done at the earliest opportunity, while the two releases of Weave are still closely aligned. |
| Warning |
|---|
In-Place Upgrade New functionality added to Weave requires updates to underlying technologies that Weave is built upon. These updates are generally made as part of a point release, e.g. 2.4 to 2.5, 2.5 to 2.6, etc., and as such it is not possible to directly update a Weave 2.5 instance to Weave 2.6. You must install Weave 2.6 to a new location, but you can copy your existing 2.5 configurations over to the new installation and you do not need to uninstall your previous Weave 2.5 instance. Note: If you're using encrypted passwords in your existing Weave configuration, you will either need to re-encrypt them in the new installation or copy the |
...
| Info |
|---|
As part of the update of Jetty and the Java Service Wrapper a number of system properties that were previously set in Note that if you're using a Web Application server other than the Jetty installed as part of Weave then you will also need to duplicate some of the settings within the other Web Application Server. HTTP Settings The settings related to the HTTP server, which ports to listen on, etc., were previously set in Proxy Settings The settings required for the Weave server to know which HTTP proxy to use to access the internet, if required, were previously set in Weave Settings There are a number of customisable settings available for Weave, which were previously set in Telnet Settings
Warning: The ini files referenced above must use ISO-8859-1 encoding, not UTF-8. Ensure that the text editor you're using to edit the files is using the correct encoding when saving the files or the file contents may not get processed. |
...
The installation process
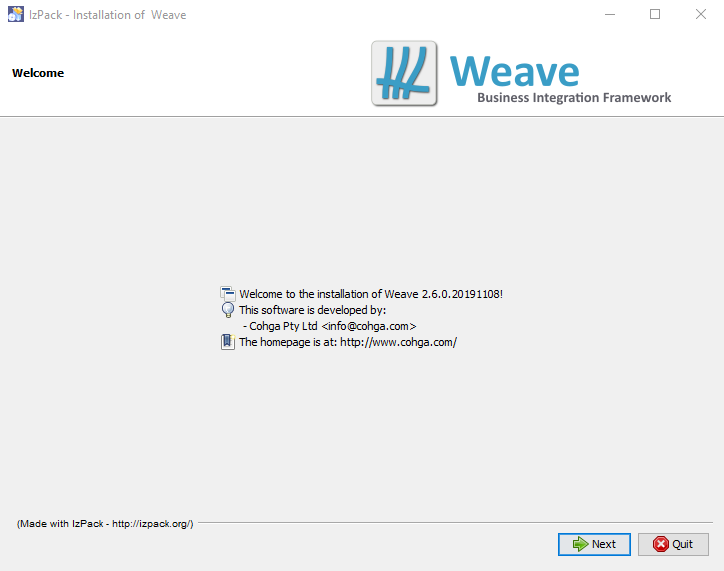
Step 1
Installing Weave 2.6.0 is similar to the process required for a standard Weave upgrade, which starts with a Welcome screen.
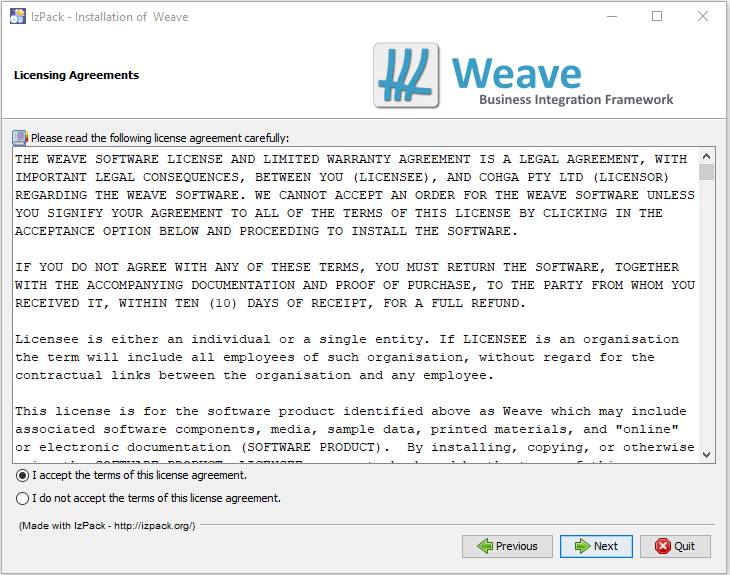
Step 2
This is followed by the Licence screen, where you must accept the licence agreement before you can proceed.
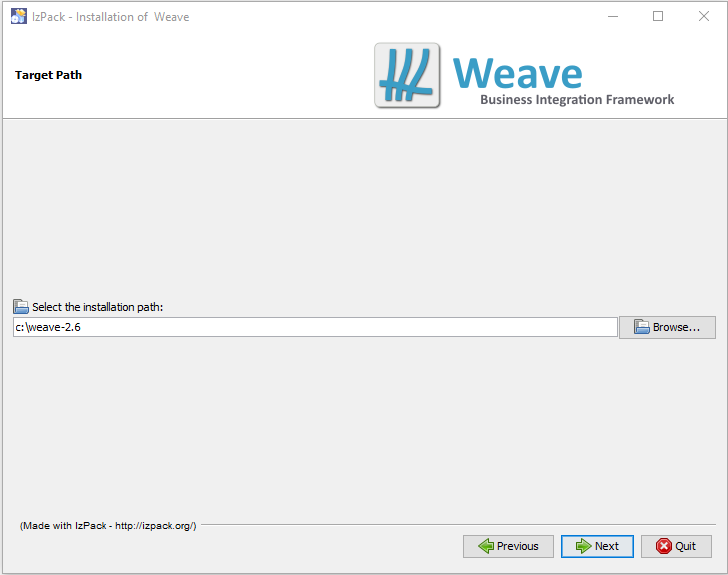
Step 3
Next you need to choose the location (Target Path) where you want to install the new instance of Weave. If you specified an install location on the command line when starting the installer, then the Target Path should already be showing on the Target Path menu.
Step 4
At this step you are presented with the available installation options.
...
The first group of options are the main components. Since we are upgrading an existing Weave instance, select the same set of extensions that you had installed in the previous instance of Weave that you are upgrading.

Step 5
The next step is to choose the port numbers that Weave will be listening on. If you choose the same as those used for your existing Weave instance you can only run one instance of Weave on that server at the one time.
...