...
If you the click the Next button you'll be presented with a screen that allows you to choose a starting template to use for the report. Generally the Blank Report is a suitable starting point. Note however that it does include the current date as part of the Master Page, so it's not entirely blank.
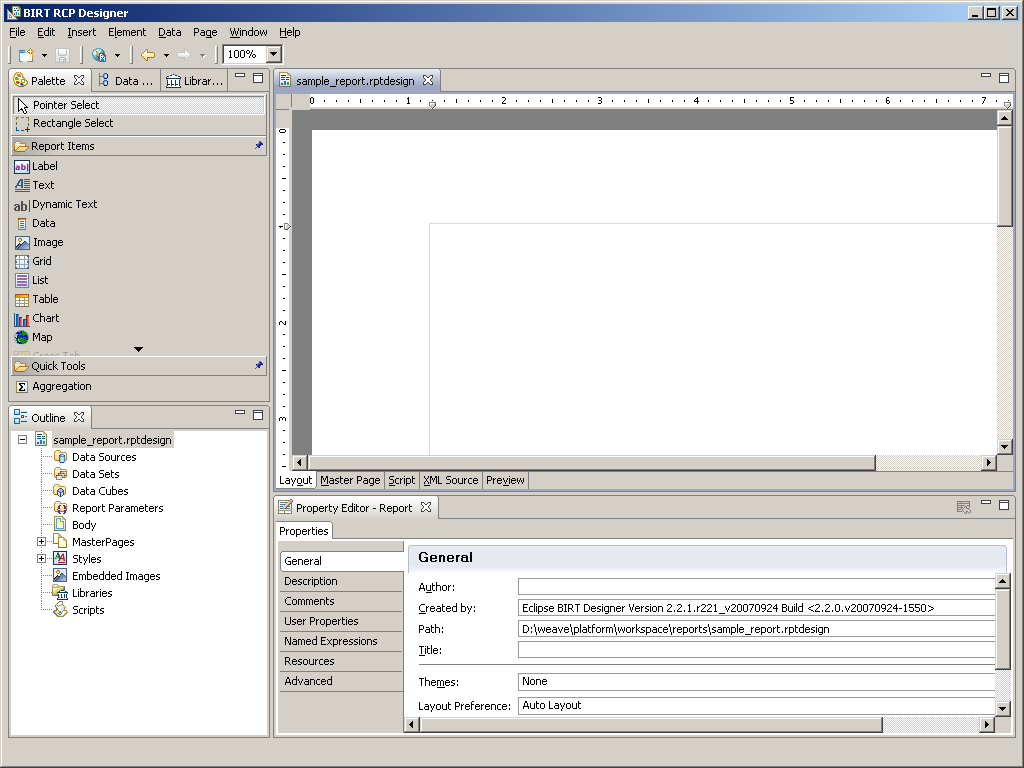
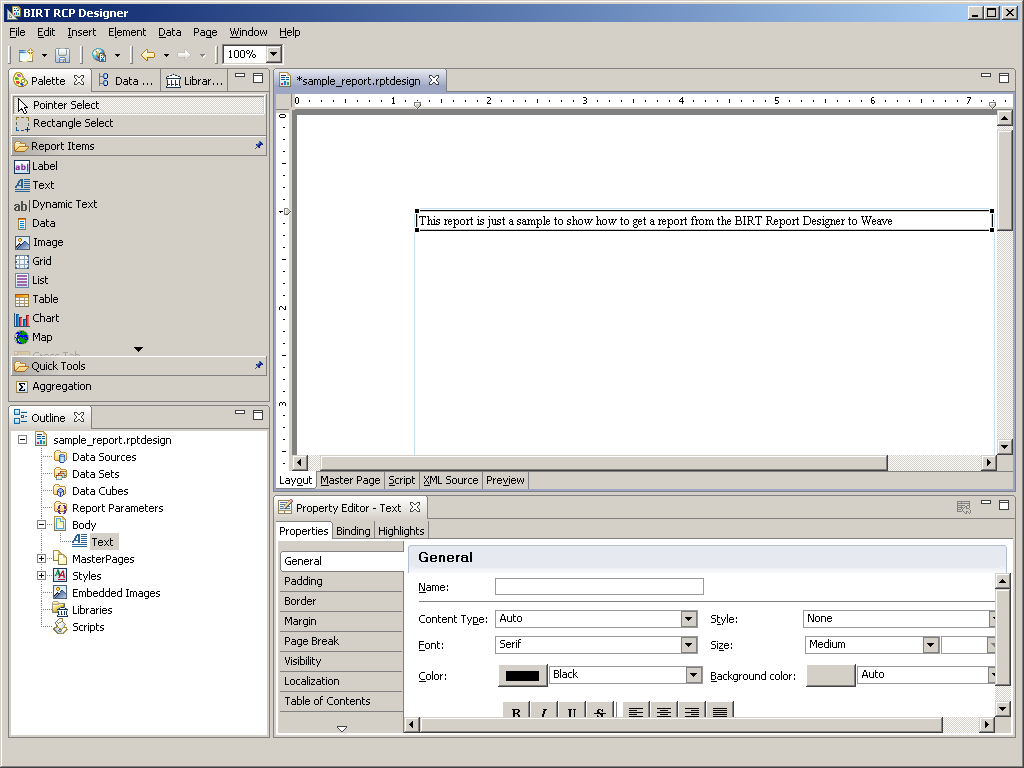
For this sample I'll just add a simple text box to the report since the intent here is to show how to create a BIRT report design, not how to generate a full blown BIRT report.
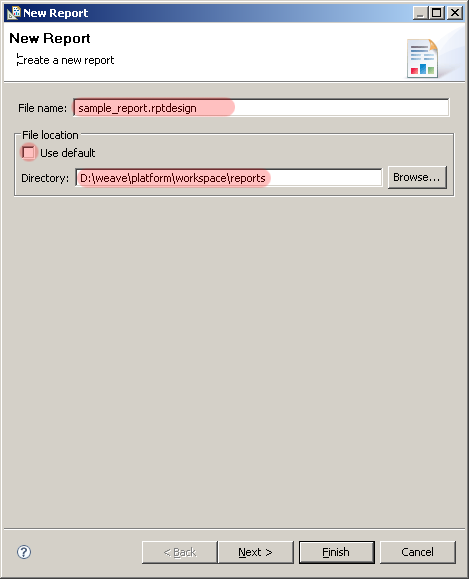
Once this report is saved the design file will then be available in the ...\weave\platform\workspace\reports directory and should be ready to register in Weave.
Report Registration
Once a report design is available it needs to be registered with Weave to make it available for users. The registration involves adding a new entry to the Weave config file for the report design, and there are two methods of performing the registration, either with a separate entry for each report design or as a single entry for a directory of report designs.
The later makes it easier to register a bunch of reports but the former provides more control over individual report registrations.
To create either type of report registration requires the setting of the appropriate namespace for the BIRT configuration items in the config.xml file, the namespace for BIRT reports is com.cohga.server.report.birt, so if we include BIRT reports in a separate config file called reports.xml and include that into out main config.xml file then the initial contents of the report.xml file should be:
| Code Block |
|---|
<?xml version="1.0" encoding="UTF-8"?>

<config xmlns="urn:com.cohga.server.config#1.0" xmlns:birt="urn:com.cohga.server.report.birt#1.0">

</config>
|
Then within the config tags we can add a new BIRT report entry for our sample report
| Code Block |
|---|
<?xml version="1.0" encoding="UTF-8"?>

<config xmlns="urn:com.cohga.server.config#1.0" xmlns:birt="urn:com.cohga.server.report.birt#1.0">

    <birt:report id="sample" report="reports\sample_report"/>

</config>
|
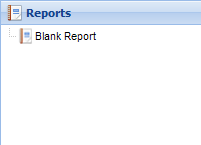
Then when we refresh the client the new report should appear in the Report view
and if we generate the report (in this case as HTML) we should get the following output
And that's the basics of how to get a BIRT report into Weave.
Report Customization
The first thing we need to look at the the label for the report in the report view. The previous screen show shows the report with the label "Blank Report", which is the default Display Name for a report when it's generated from the Blank Report template
So we could go back to the report design, change the Display Name as save the report, then the next time the client starts the report will have the new label in the report view.
Alternatively we can set the label directly in the report registration in the config file
| Code Block |
|---|
<?xml version="1.0" encoding="UTF-8"?>

<config xmlns="urn:com.cohga.server.config#1.0" xmlns:birt="urn:com.cohga.server.report.birt#1.0">

    <birt:report id="sample" report="reports\sample_report" label="Sample Report"/>

</config>
|


