Upgrading from 2.5 to 2.6
- Shaun Forbes
- Lucy Minato (Deactivated)
Why Upgrade
Customers still on 2.5 will not have access to new features or updates to features that are in the 2.6 releases. Weave 2.5 will no longer be receiving any new functionality.
The functionality provided by Weave is supported by the underlying technology Weave is built upon, and provided as part of the base install of Weave. But as with all technology, these things sometimes need to be updated and as part of the release cycle of Weave it is now time for another one of these technology updates.
At the moment the core Weave functionality provided by Weave 2.5 and Weave 2.6 are exactly the same, that is they both contain the same "Weave" functionality, even though the underlying technology is being updated, and both versions are in fact made up of exactly the same set of bundles/plugins. However, from now on, all new development will be based on the updated 2.6 platform. As time goes by, the functionality provided by the new platform will be used more and more and will not be available for Weave 2.5, it is for this reason that upgrading from 2.5 to 2.6 should be done at the earliest opportunity, while the two releases of Weave are still closely aligned.
In-Place Upgrade
New functionality added to Weave requires updates to underlying technologies that Weave is built upon. These updates are generally made as part of a point release, e.g. 2.4 to 2.5, 2.5 to 2.6, etc., and as such it is not possible to directly update a Weave 2.5 instance to Weave 2.6.
You must install Weave 2.6 to a new location, but you can copy your existing 2.5 configurations over to the new installation and you do not need to uninstall your previous Weave 2.5 instance.
Note: If you're using encrypted passwords in your existing Weave configuration, you will either need to re-encrypt them in the new installation or copy the private.key file from the existing workspace to the new one. See this page for more information.
Supported Architecture
Weave 2.6 is only supported on 64-bit operating systems.
Network Ports
If you are installing Weave 2.6 on a server that already has a version of Weave installed, you need to ensure that either the ports used by the new instance are different from the existing instance or that only one of the instances is running at a time.
The port that Weave listens on can be set during installation, see step 5 below, or can be changed by editing ...\weave\jetty_base\start.d\http.ini and changing the value of jetty.http.port, which defaults to 8080, and/or stop.port which defaults to 8070.
To determine the ports that an existing Weave instance is using please see the page about Network Ports.
Base Directory Change
The base directory (the directory that is taken to be the "current working directory" when Weave is running) has changed from being in the jetty sub-directory to being the root of the Weave installation.
On a clean installation this will not cause any problems because the installer is aware of this change, but if you copy configuration files from a previous instance of Weave, for example logging.properties or wrapper.conf, and they contain relative paths, then these will now point to the wrong location.
You should check any configuration files that are being copied from an older Weave instance and ensure relative paths are changed to reflect the new startup directory. For example in logging.properties, the log4j.appender.file.File setting would change from ../logs/weave.log to ./logs/weave.log (note the two full stops have been replaced with one).
If in doubt, compare the new file installed as part of the clean Weave 2.6 installation with the old one you wish to replace it with before overwriting the newer file.
Additionally, support dumps will now be placed in the root directory rather than under the jetty sub-directory.
Custom Bundles
Prior to Weave 2.6 if you were provided with a custom bundle (a plugin that contains code or enhancements specifically for your installation) you would copy it to the ...\weave\platform\plugins\ directory and maybe edit the ...\weave\platform\configuration\config.ini file to have the bundle recognised and started by Weave.
This is no longer the case. Instead custom bundles should be copied to the ...\weave\platform\custom\plugins\ directory and ...\weave\platform\configuration\config.ini should not be changed.
Cleaning the configuration directory
Previously if there were issues with starting Weave you may have been asked to "clean up the configuration directory", that is delete everything in the ...\weave\platform\configuration\ directory except for the config.ini file.
You should not do that with Weave 2.6.
There is now an additional directory within the configuration directory that should not be deleted, the felix.fileinstall directory.
You should not have to clean out the configuration directory any more, but if you do then make sure not to delete either the config.ini file or the felix.fileinstall directory.
Weave 2.6 only updates some of the underlying infrastructure of Weave, the actual Weave code is the same as Weave 2.5. The updates are for the:
- Java Virtual Machine, which is updated from 7 to 8,
- Jetty Web Application Server, which is updated from 8 to 9, and
- Java Service Wrapper, which is updated from 11 to 12.
As part of the update of Jetty and the Java Service Wrapper a number of system properties that were previously set in jetty.ini and jetty.xml, startup.cmd/startup.sh or wrapper.conf are now set as part of Jetty at jetty_base\start.d\.
Note that if you're using a Web Application server other than the Jetty installed as part of Weave then you will also need to duplicate some of the settings within the other Web Application Server.
HTTP Settings
The settings related to the HTTP server, which ports to listen on, etc., were previously set in jetty.ini or jetty.xml. These values are now stored in jetty_base\start.d\http.ini.
Proxy Settings
The settings required for the Weave server to know which HTTP proxy to use to access the internet, if required, were previously set in startup.cmd/startup.sh and service\conf\wrapper.conf but are now stored at jetty_base\start.d\proxy.ini.
Weave Settings
There are a number of customisable settings available for Weave, which were previously set in startup.cmd/startup.sh and service/conf/wrapper.conf but are now stored at jetty_base\start.d\weave.ini.
If you have your own settings that you have added to startup.cmd/startup.sh and/or service/conf/wrapper.conf you should create your own .ini file, using something like "custom.ini" or "organisation name.ini" at that location and add your setting to that file.
Telnet Settings
The setting related to enabling telnet access to the Weave server OSGi console was previously set in There appears to be an issue with starting the Telnet service when this setting is moved so it had been moved back until the issue is resolved.startup.cmd/startup.sh and service/conf/wrapper.conf but is now stored at jetty_base\start.d\telnet.ini.
Warning: The ini files referenced above must use ISO-8859-1 encoding, not UTF-8. Ensure that the text editor you're using to edit the files is using the correct encoding when saving the files or the file contents may not get processed.
Installation
Starting the installer
To perform the initial installation you will require the Weave installer .jar file. This can be downloaded from Latest Downloads if you have a current support subscription.
To use the .jar file you will need to open a command prompt (sometimes double-clicking on the .jar file may start the installer, depending upon how the server is setup) and start the installer manually.
The Weave installer .jar file requires an existing version of Java to be available on the server. If the server already contains a Weave instance then you already have Java available, and you just need to specify that Java is used when starting the installer.
For example, assuming that we have Weave 2.5 installed on Windows at c:\weave-2.5\, and the installer .jar file is currently located at d:\temp\weave-installer-2.6.30.jar, then you can initiate the Weave 2.6 installer with the following command:
c:\weave-2.5\jre\bin\java -jar d:\temp\weave-installer-2.6.0.jar |
Additionally, if you already know where you want to install the new Weave instance then you can also specify that on the command line, e.g.
|
On Linux the process will be similar, e.g.
/opt/weave-2.5/jre/bin/java -jar /tmp/weave-installer-2.6.0.jar /opt/weave-2.6 |
If you do not already have a Weave instance available on the server then you may need to install Java, which you can uninstall after you have finished the installation process.
In this case the java command you will have to run will be different because the java executable will be installed in a different location, e.g.
"c:\program files\java\jre1.8.0_45\bin\java" -jar d:\temp\weave-installer-2.6.0.jar |
There is also a ISO file installer available that contains a Java runtime that can be used if the server does not have Java already available or you do not want to install an additional Java runtime on the server to install Weave.
The installer can be mounted on the server and should appear as a separate drive, on Windows, or directory, on Linux, and contains a setup.exe, for Windows, and setup.sh, for Linux, that can be run to initiate the installation process.
Note that in Windows 8 and Windows Server 2012 and later it is possible to mount an ISO file without having to install a third party tool by selecting the .iso file in Windows Explorer and right clicking on it and selecting "Mount ISO", if this is not available, which can happen if another program has taken over support for opening ISO files, then you can select "Open with" and choose "Windows Explorer".
The installation process
Step 1
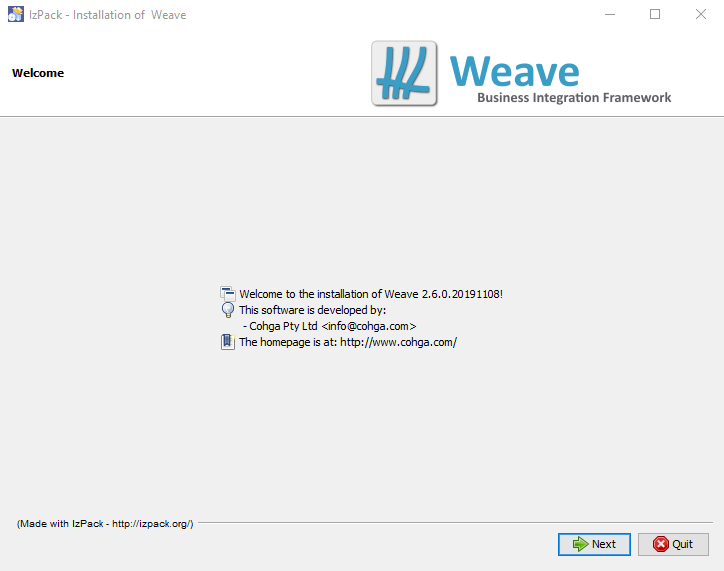
Installing Weave 2.6.0 is similar to the process required for a standard Weave upgrade, which starts with a Welcome screen.
Step 2
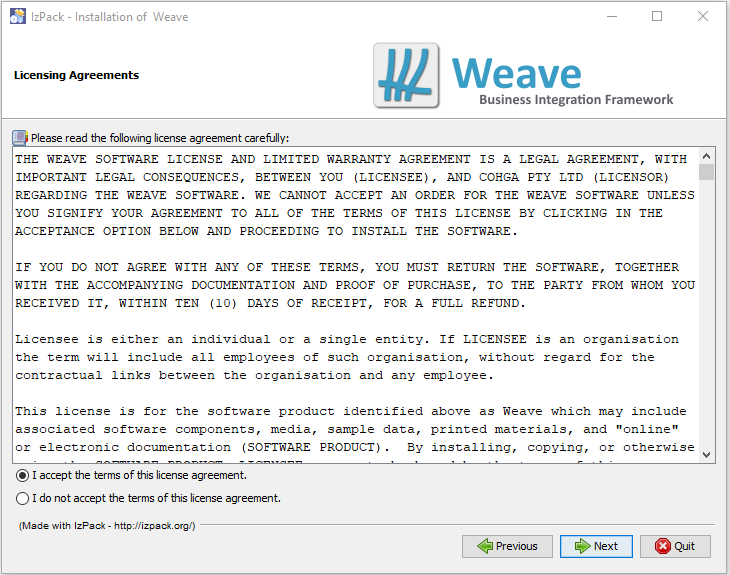
This is followed by the Licence screen, where you must accept the licence agreement before you can proceed.
Step 3
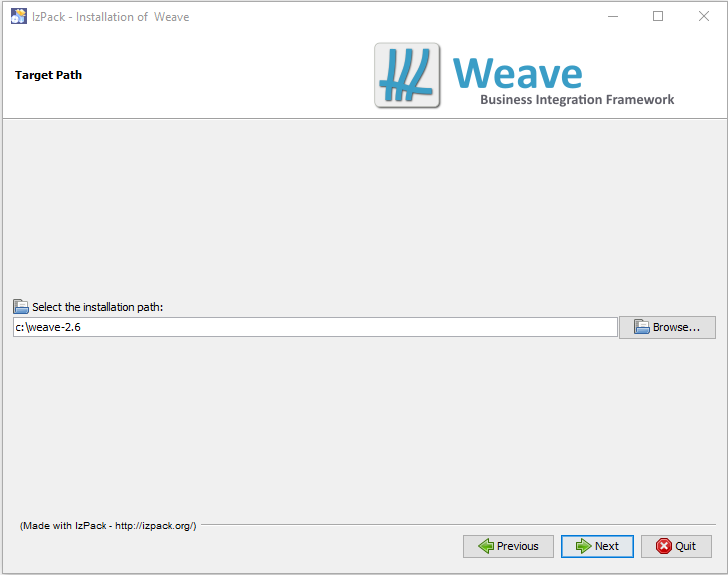
Next you need to choose the location (Target Path) where you want to install the new instance of Weave. If you specified an install location on the command line when starting the installer, then the Target Path should already be showing on the Target Path menu.
Step 4
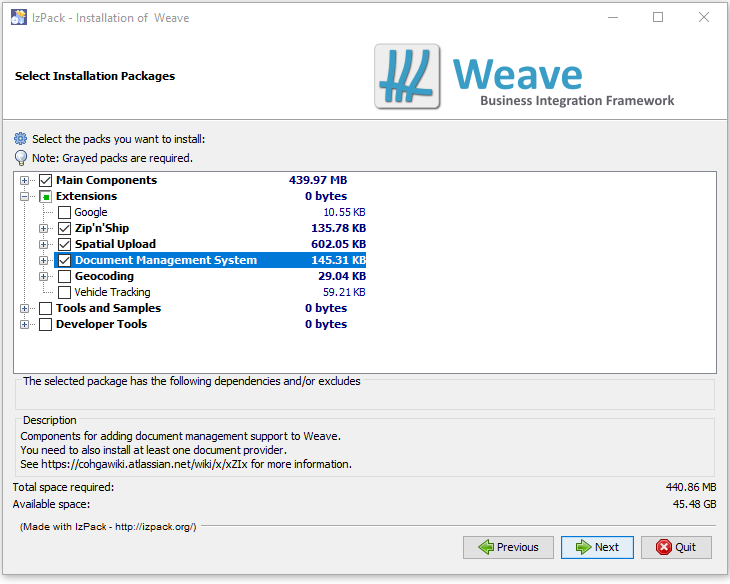
At this step you are presented with the available installation options.
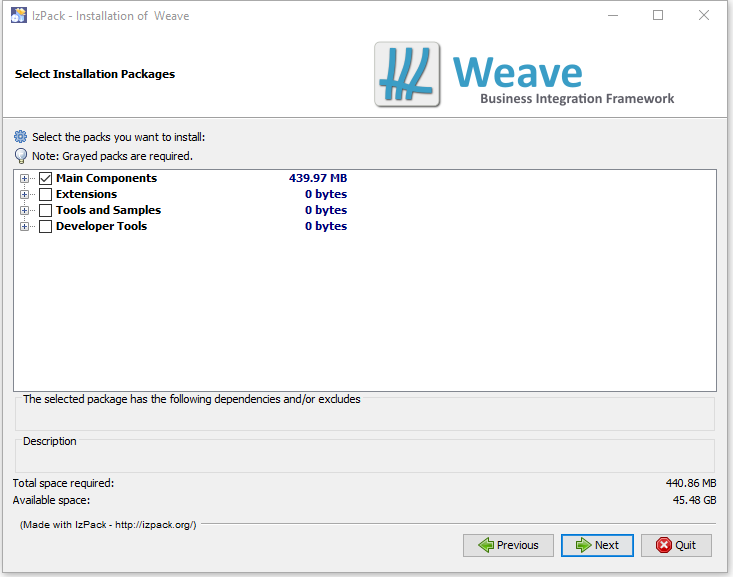
The installation options are presented in a tree where the individual components are grouped based on their purpose.
The first group of options are the main components. Since we are upgrading an existing Weave instance, select the same set of extensions that you had installed in the previous instance of Weave that you are upgrading.
Step 5
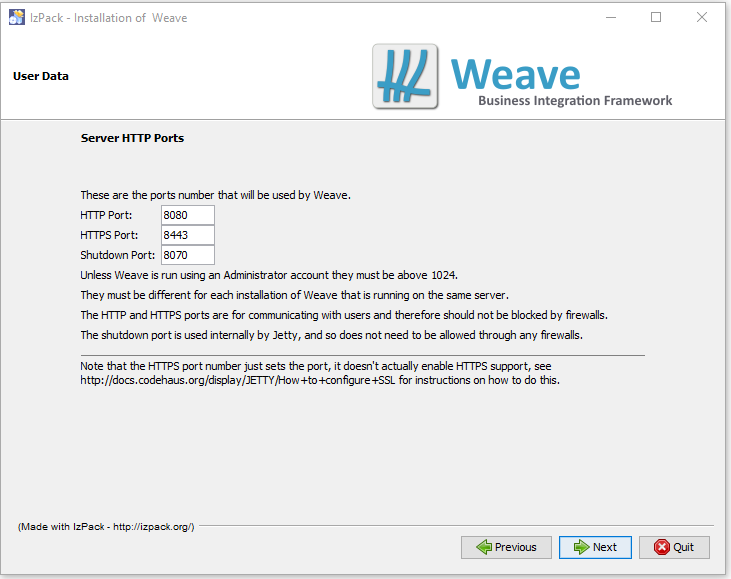
The next step is to choose the port numbers that Weave will be listening on. If you choose the same as those used for your existing Weave instance you can only run one instance of Weave on that server at the one time.
Step 6
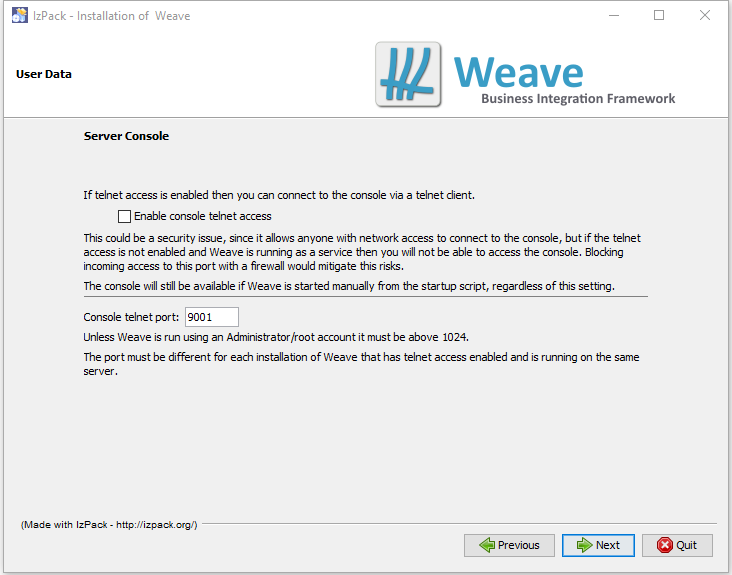
The next step is to optionally enable the Telnet service and specify the port it will listen on. The same issues with this port number apply as those from Step 5.
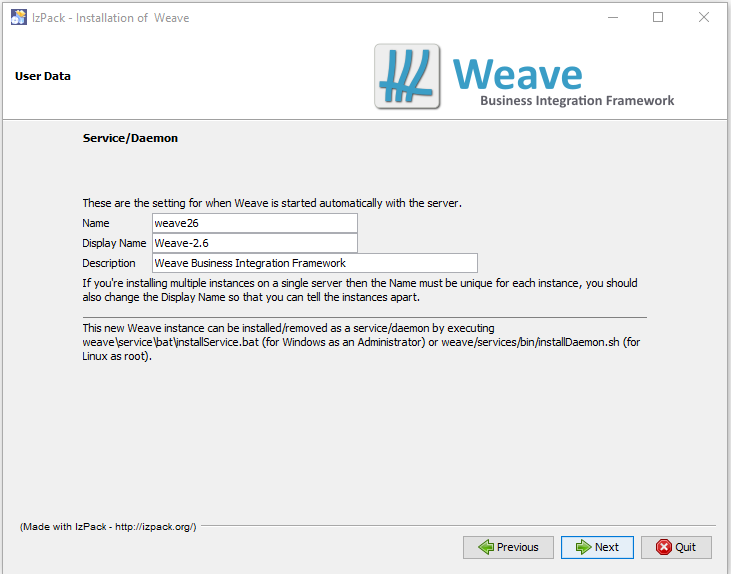
Step 7
This step configures the information required to install the new instance as a service/daemon. It does not install Weave as a service/daemon. That must be done as a separate step after the installation process is completed.
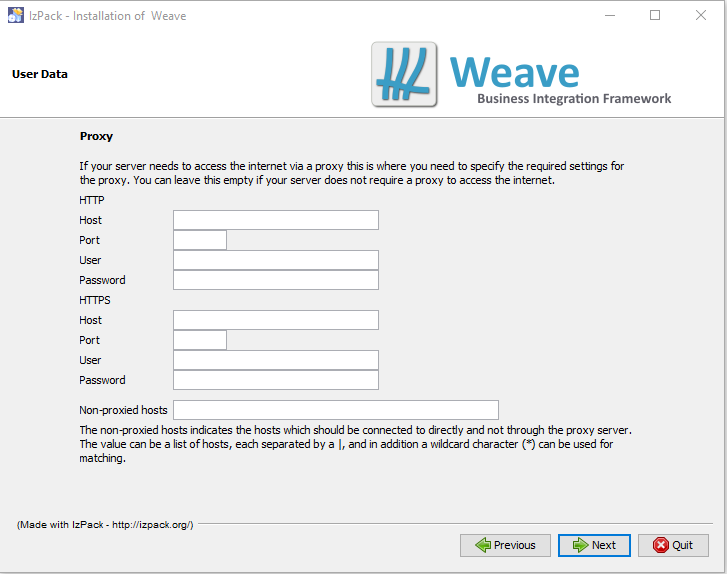
Step 8
If your server needs to access the internet via a proxy you need to fill out the required settings.
Step 9
The next page is shown when the installation process is running and the files are being copied to the new Weave installation directory.

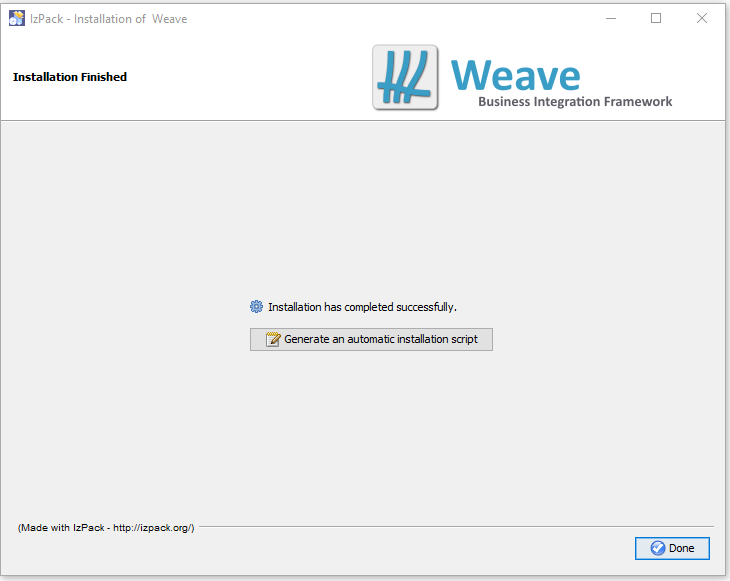
Step 10
The final page is presented once the installation is completed and provides an option to generate an installation script. This script can be used with the installer at a later time to perform the same installation without having to go through the whole process of making the choices via the install GUI. In this way the installer can be run entirely without presenting the GUI and perform the same installation (with the option of installing to a different directory).